| Aldec's Active HDL is a nice
MS Windows based simulator for VHDL/Verilog. This tutorial is a quick guide for basic function of this
software. It requires a basic knowledge of VHDL. If you are new to VHDL, please
check out these online-tutorials and
pratice ESD book sample codes. For Synopsys VHDL synthesis tutorial, please
refer to relative classes offered by Dr. Vahid.
Double click the Active HDL label to start loading program. When loading finishes, the following dialog appears, select the create new design option and click the OK button. 
Starting the software
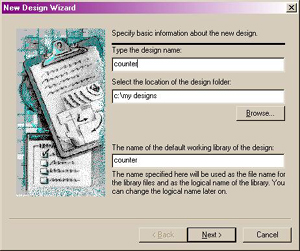
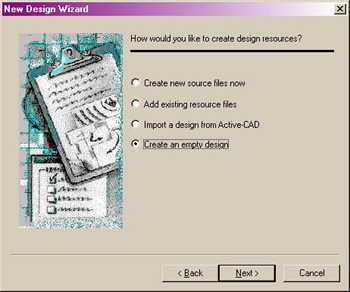
In the first wizard window you can enter your project name, its folder, the project type and the working library name. We use a counter design for illustration here.
Design Browser is a window showing the design contents. As a result of previous operations, it will display the following contents: 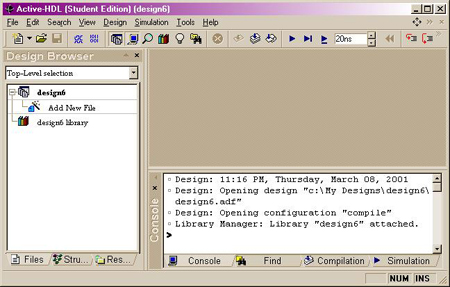
Design Browser Window
Create VHDL source file or add the existing code from "Add new file". following window shows the result of Code editing. 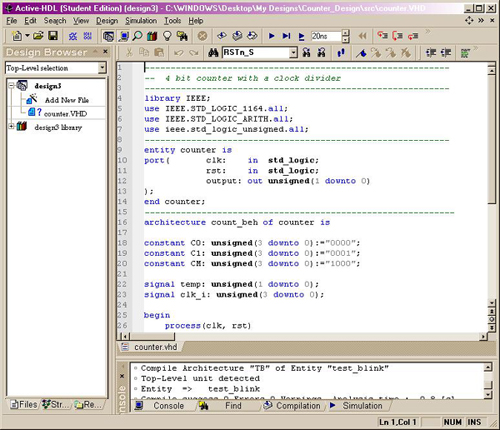
Edit VHDL source code
Go to the Design Browser window, select the .vhd label and click the right mouse button. Choose the compile option from the shortcut menu. If the source file contains a warning or error, green checks won't appear. Correct the error and make sure all the source files get green checks. 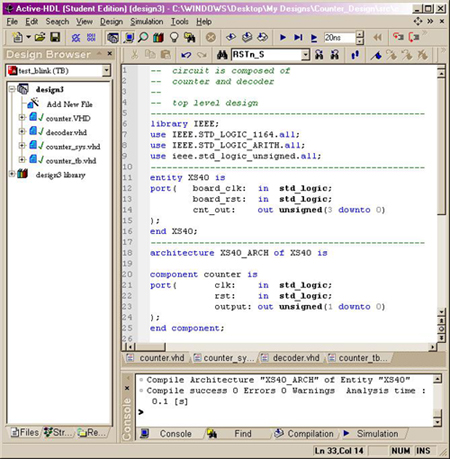
Syntax Checking Successful
To begin a simulation, you have to first initialize the simulator using Initialization option from the simulation menu. After the simulatior has been initialized, you have to open a new Waveform window. Click the New Waveform toolbar button to invoke the Waveform window. Now you need assign the stimulators to all the input signals. Go to the left pane of the Waveform Editor window and select the CLK signal. Press the right button toinvoke a context menu, choose the clock item from stimulators dialog; choose HotKey from random value inputs. 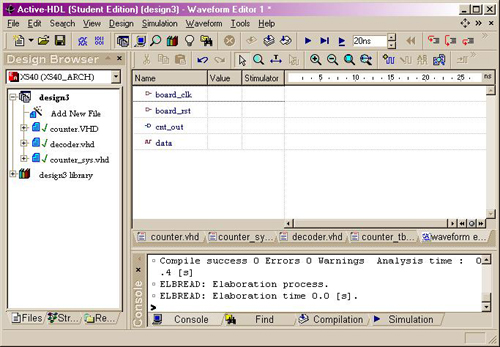
Manual Simulation Window
You can perform either a single step simulation, which is useful for source code debugging, or a continues simulation. Finish simulation by selecting the End Simulation option in the Simulatior menu. Save your waveform before exit. 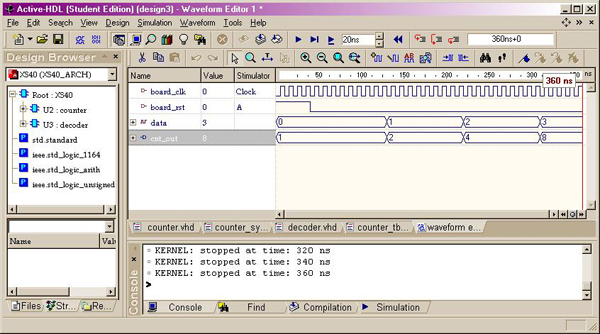
Manual Simulation Result
You have an option to create the test bench and run the simulation automatically instead of assigning stimulators. Following picture is a result of running counter test bench. 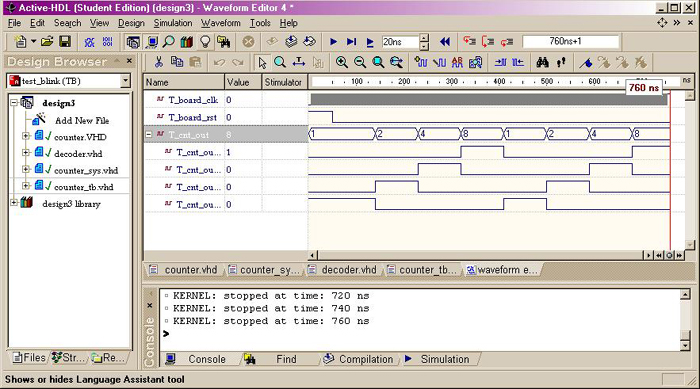
Test Bench Simulation That's it. Practice this convenient software, you should discover many more nice features by yourself. Enjoy!
Created by Weijun Zhang (wzhang@ee.ucr.edu)
|
